For each event created in SilkStart, you can decide whether or not attendees receive an official confirmation email. The confirmation email can be customized for each event you create. For an overview of all standard notifications sent to attendees, see this article.
- For a new event: Admin Panel > Manage > Events > Create a New Event > select your event type.
For an existing event: Admin Panel > Manage > Events > locate your event in the list, and click the pencil icon to be brought to the Edit screen. - Scroll down to 'Welcome Your Attendees'
- Choose a message: From the drop-down menu, select "Do not send a notification", "Use Default", or "Customize content for this event"

- Save your event.
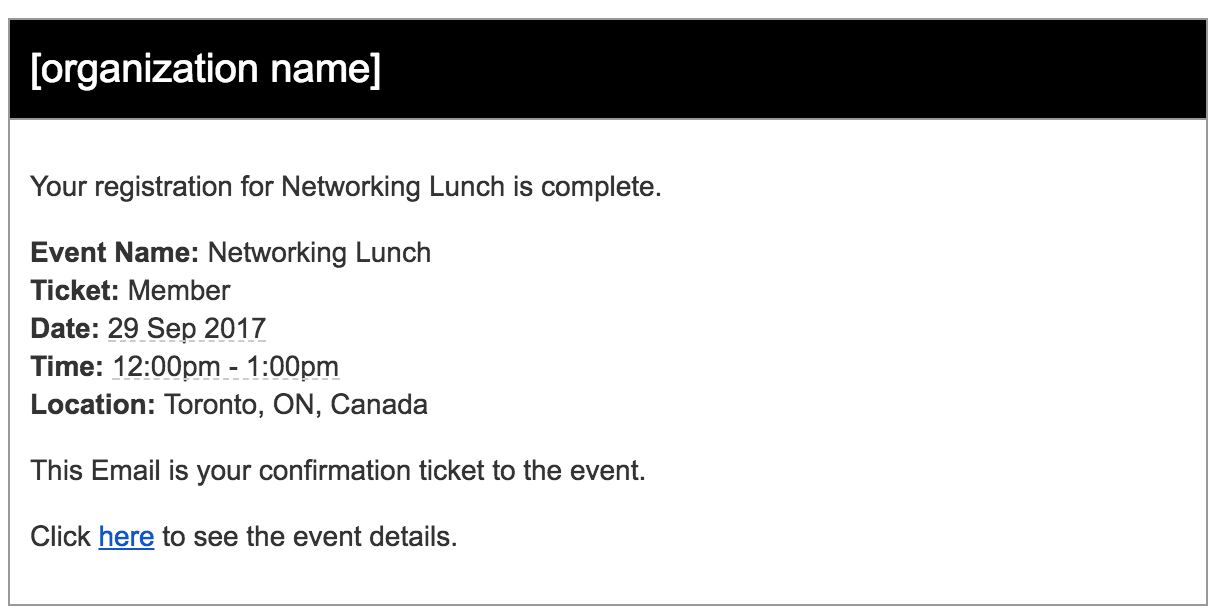
Sample default confirmation email:

Customize the Default Notification
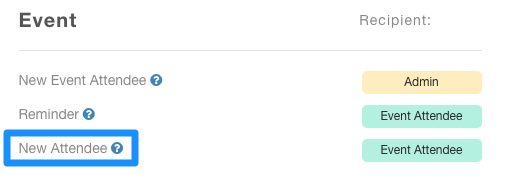
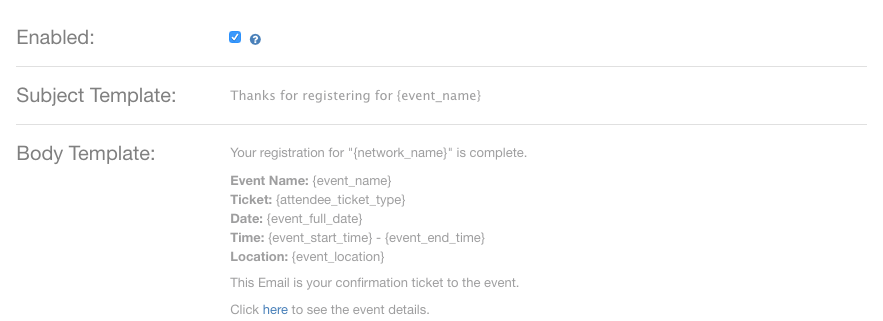
If you would like to make changes to your Default confirmation email template, navigate to Communicate > Automated Emails in your admin panel. Select the email titled "New Attendee" under "Events".

Edit the text and click Save and Close. This will now be your new Default template for event confirmation emails. If you choose to Disable the notification from this screen (by un-checking the "Enabled" box), it will never send until re-enabled.

Your default may still be overridden on an event-by-event basis by following the steps outlined at the top of this article.

Comments
0 comments
Please sign in to leave a comment.