When setting up a new SilkStart site, you can send a customized 'launch invite' email that will provide members in your database with a unique link they can follow to set up their account.
Log in as an Admin and navigate to the Dashboard of your Admin Panel.
1. Setting up your Invite
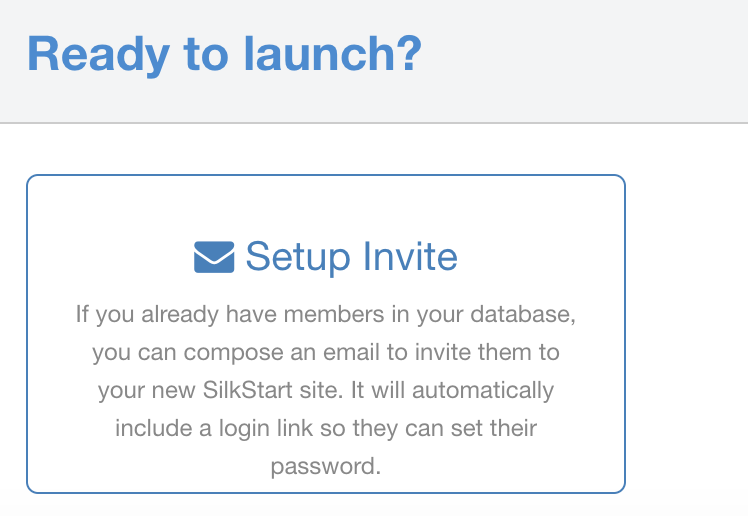
Click Setup Invite under "Ready to Launch?".

Customize your invite message by changing the subject name and text body. If you decide to use the {user_first_name} merge tag, this will be automatically populated by information in your database.
Important: Be sure to include {invite_url} as the destination for one of your links! This will already be configured by default, so do not remove it from your message.
This message will be sent to the primary email address for the user that is in the database.

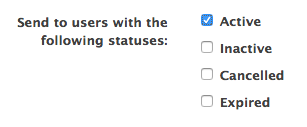
You can choose whether your network launch email is sent to all members, or just to particular member types based on status. If your network includes prospects, expired members, or canceled members, you may wish to be particular about who receives your welcome message as this acts as an invitation to your website.

You may also choose whether or not to send this message to people who have already logged in, as a result of your soft-launch, for example.

2. Sending the Email
When you have finished customizing your invite, you are just one click away from sending your invite. The 'Launch' email is received by all members with the status(es) you have configured in the first step. Simply select the 'Launch' button. Note: this will send your message immediately.
The message will be sent from the address entered in the 'Default From Address' field in 'Settings' > 'Organization Info'

3. Member Experience
Below is how the email configured above will display in the member's inbox:
 For security purposes, the unique link contained in the Launch message may only be selected once, and the link expires after 48 hours. If the user selects this link more than once, they will be shown a message stating that they must contact the administrator to reset their password. You may then reset the user's password manually or send them a Welcome message through their profile in the admin panel.
When the user selects the link in the Launch message, they will be directed to a page where they may set up a password. The system will recognize the email address of the user as this is connected to the unique link which they have clicked. The user will then be directed to their profile where they may edit and update their information.
4. Track the success of your Launch Email
You can use the Last Login data field in an All Members report to track the success of your Launch email. If most or all of your members would not have logged in prior to receiving the launch message, this can be a good indicator of who has completed the setup process via the link in your email. Check out this article for how to create a report in SilkStart.
Getting Started: Website Launch Process from SilkStart Technology on Vimeo.
Optional: Re-Launch
If you would like to send a second launch email to members who did not log in after your first launch, simply contact us! When setting up your invite, choose to not include people who have already logged in:


Comments
0 comments
Please sign in to leave a comment.