SilkStart makes it easy for you to manage the content on your own website. You can use custom pages to showcase content specific to your association and add text, photos, hyperlinks, widgets, or embedded content. If this is your first time making a custom page, see How do I create a custom page?, or view our comprehensive guide to custom pages to get started!
- Log into your admin account.
- Navigate to the page that you want to change. You can do this on the front-end of your site, or you can find the page you're looking for on your admin panel, under 'Site' > 'Custom Webpages.'
- Click on the orange 'Edit this Page' button on the far left side of your screen. You are now in editing mode!
- To edit content, click into the section on the page you want to change. The WYSIWYG editor should pop up, with options for formatting text, adding images, creating links, and more.
- If you see a list of widgets instead, then you're attempting to edit a widget. Learn more about creating and editing widgets here.
- When you're finished making changes, click on the 'Save and Publish' button in the top right corner of the site. If you wish to save your edits but not have these changes publicly visible, select 'Save Changes.'
Tips and Tricks:
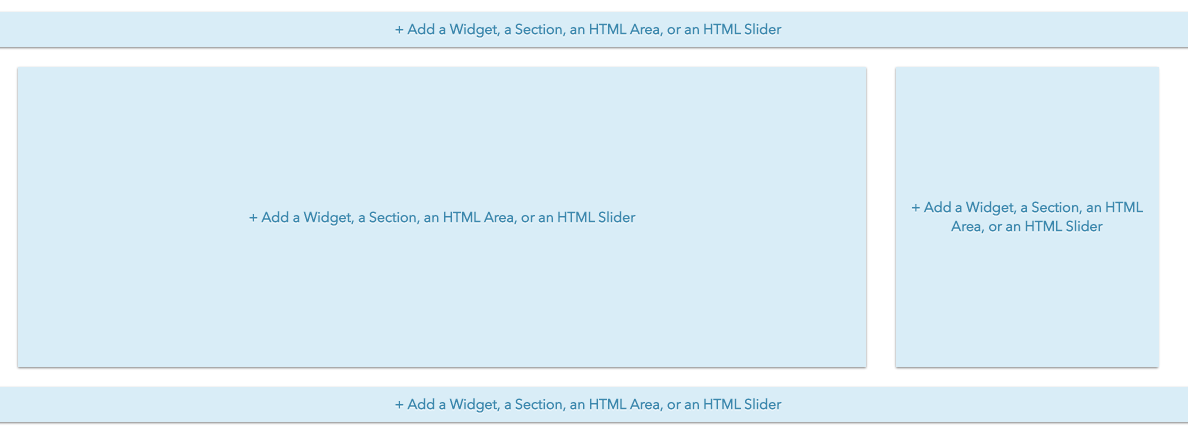
Custom pages are built using content blocks that we refer to as Sections. Sections are created by clicking the pale blue rectangles in your page template, and can be moved vertically around your page once created. Section blocks can also be used to house widgets.

Quick Tip: Sections can span different widths of your page, depending on from where they are created. If you would like to stack sections of similar width on your page, create a new section by hovering over the bottom of your lowest section, and click the "Add a Section" blue bar that appears (see image below). This will create a section the same width as the one above it, as opposed to one that spans the entire width of your page.

Hover over a section so it turns a light grey, then click into the section to begin editing. Here is where you can add text, insert an image or a hyperlink, and more using the WYSIWYG editor similar to what is seen in programs like Microsoft Word.
More editing options:
- Use the WYSIWYG editor (and learn what it stands for!)
- Make a Hyperlink
- Make a Section
- Add Widgets
- Make a Slideshow
| Standard theme: Hover over your section until you see a set of arrows with a dark grey background. Use these to move your entire section (header plus content) up and down on your page. Use the trash can icon to delete the entire section. |  |
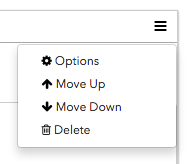
| Premium theme: To move an entire section, click the hamburger menu (three horizontal lines) in the upper-right corner of your section, and choose Move Up or Move Down. Use the trash can icon to delete the entire section. |  |
The smaller arrows (with a white background) that appear on the right side of a section when you hover over the header or content will flip the position of the header relative to the content, and vice versa. For example, if you click the "down" arrow when hovering over the header, this will move the section's header so it sits below the section's content.

- Set visibility and control what types of members can see your page
- Add meta information for optimal search results
- Switch templates
- Delete your page
- Edit page name

Comments
0 comments
Please sign in to leave a comment.