Email Campaigns
Email campaigns allow you to contact a large number of people at once directly from SilkStart. Email campaigns connect with your mailing lists, allowing you to easily manage and communicate with different groups of members.
To create an email campaign, log in to your admin panel and navigate to Communicate > Email Campaigns. Click “Start an Email Campaign” from the top right-hand corner to begin.
Step 1: Setup
- Name your Campaign (your campaign name is not publicly visible).
- Create a subject line for your message.
- Set the sender information for your message. This will appear as the name and email address that the email was sent from. See: How to setup the "Default From Address"
Step 2: Add Recipients
- Email campaigns can be sent to individual members, event attendees, mailing lists, or anyone else you choose. You can combine these groups to send your message to large audiences, or even send to just one person. See: How to create a mailing list
Step 3: Select Template
- Choose from a wide array of templates depending on whether your email is mainly text-based, or will include images. Learn more about our new templates!
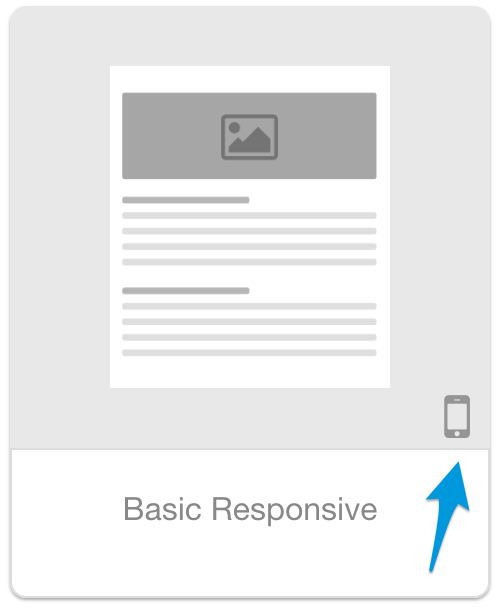
- If your members tend to open emails on a mobile device, consider choosing a template that is better suited for being mobile-friendly:

Step 4: Design your Message
- Merge Tags: You may insert the text {first_name}, {last_name}, or {name} into your email to personalize the message. Learn more about using merge tags here!
- Attach files: Click the "Attach Files" tab in the top left corner of the Design screen. Attached files will be sent to all recipients - these cannot be customized to each recipient. The maximum file size for email campaign attachments is 10MB.
- Change the Font or Background Color: Click the "Options" link in the top right corner to reveal these configurations.

Step 5: Confirm and Send
- To see the email as it will appear in your inbox, click Send Test Email. You can do this as many times as you need to before you send the message.
- Once you are pleased with the layout of your email, click "Send Now!"
- To schedule an email to send automatically in the future, click "Send Later!" - choose your time and date and click "Schedule". Your email will be listed as Pending until the send date.
- Note that once you have set you email to "Send Later", the Design stage will not be accessible to make further changes before it is sent.
- To cancel a scheduled email, you will need to delete the email campaign.
Step 6: Review Deliverability Stats
- After you send your email, you will be able to see some detailed stats on who received your message. This page updates automatically as time goes on, so you can always see the most current data on how your email has been received. See: How to view and interpret deliverability metrics
Want to learn more? Browse our entire collection of FAQ articles on Communication.

Comments
0 comments
Please sign in to leave a comment.